| Lorenzo's Progress Log |
This is where I keep track of my sewing projects. Feel free to email me with any comments or questions.
- accessories - 6
- black - 27
- children - 1
- cioppa - 1
- cop - 8
- flemish - 34
- man - 14
- woman - 20
- giornea - 1
- italian - 4
- middle - 21
- misc - 9
- old - 1
- red - 4
- red_doublet - 1
- silver - 4
- tailor - 17

| Dec 05, 2005 |
| Leather Bound Book | |
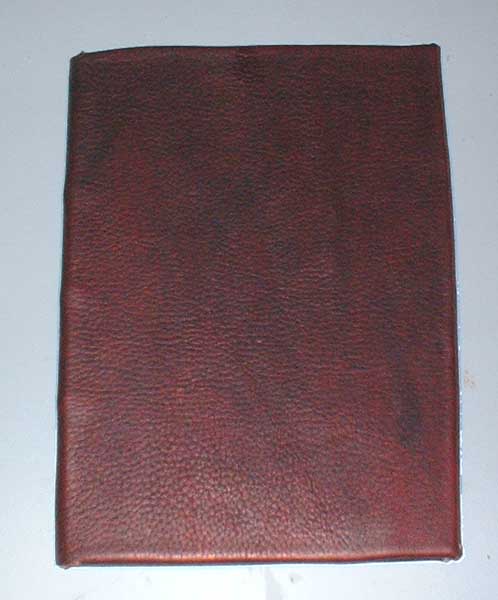 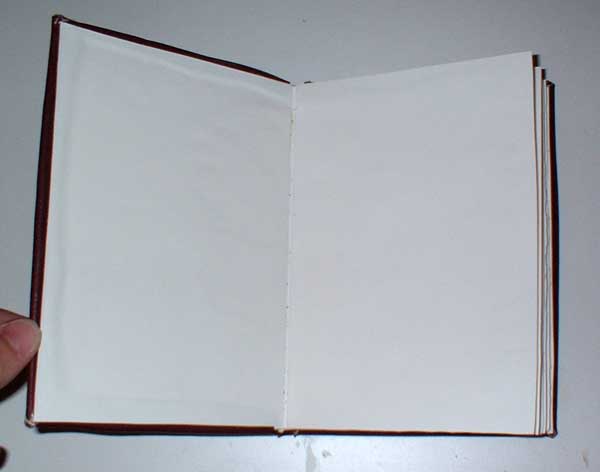 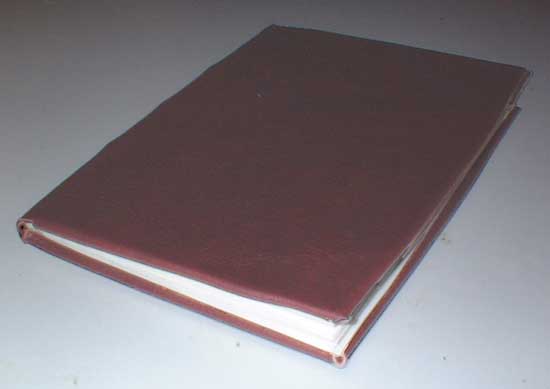 This is a blank book made as an experiment. It measures roughly 5" x 7". The pages and flyleaves are a heavy art paper that I have a huge box of; its exact nature is unknown. The cover boards are made of cardboard covered with 4 oz. leather. The three sections are sewn onto cords of common twine. The spine is reinforced with strips of linen, and everything was glued together with wood glue. The sections are sewn together with silk thread. This is a blank book made as an experiment. It measures roughly 5" x 7". The pages and flyleaves are a heavy art paper that I have a huge box of; its exact nature is unknown. The cover boards are made of cardboard covered with 4 oz. leather. The three sections are sewn onto cords of common twine. The spine is reinforced with strips of linen, and everything was glued together with wood glue. The sections are sewn together with silk thread.The first and last pages ended up getting glued to the covers, which was not my original intent. In the future I would add another leaf when binding to attach to the covers. I would also use a thinner leather. |
|
| category: /accessories | permanent link | |
| Nov 03, 2005 |
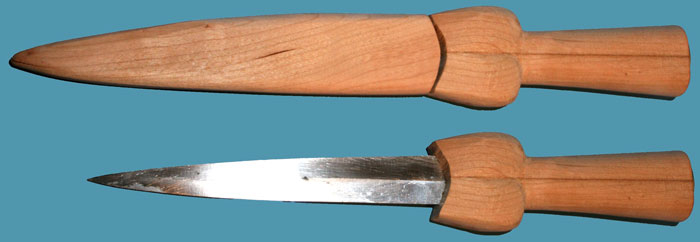
| Ballock Dagger | |
|
The hilt is made from two pieces of wood glued together. The sheath is made of three pieces, two solid sides and a thin section in the center with a space cut out for the blade. All of this was glued together and then cut and sanded to shape. I'm still not entirely happy with the shape of the hilt, but I'm not really much of a woodworker. The fit of the blade in the sheath started out quite snug, but loosened up after a while. I tried a variety of methods to improve the fit, but ended up just putting a little duct tape on the inside of the sheath, which did the trick. |
|
| category: /accessories | permanent link | |
| Oct 31, 2005 |
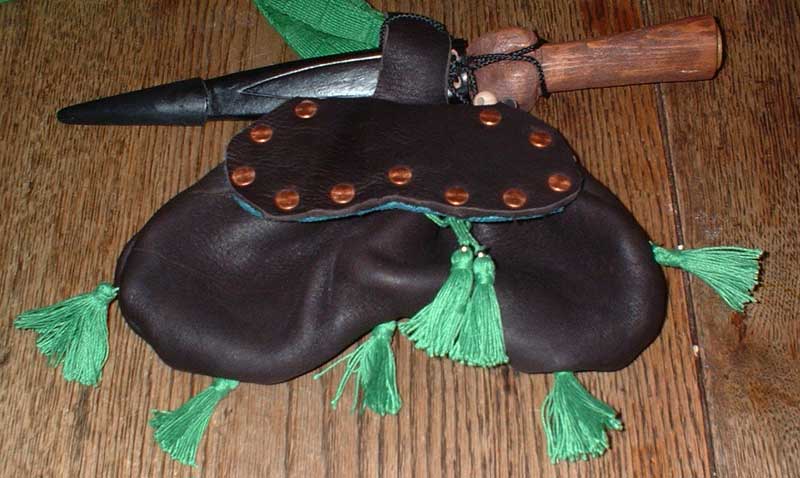
| Pouch Tassels | |
| Added lucet-woven drawstrings and a bunch of tassels to the pouch. | |
| category: /accessories | permanent link | |
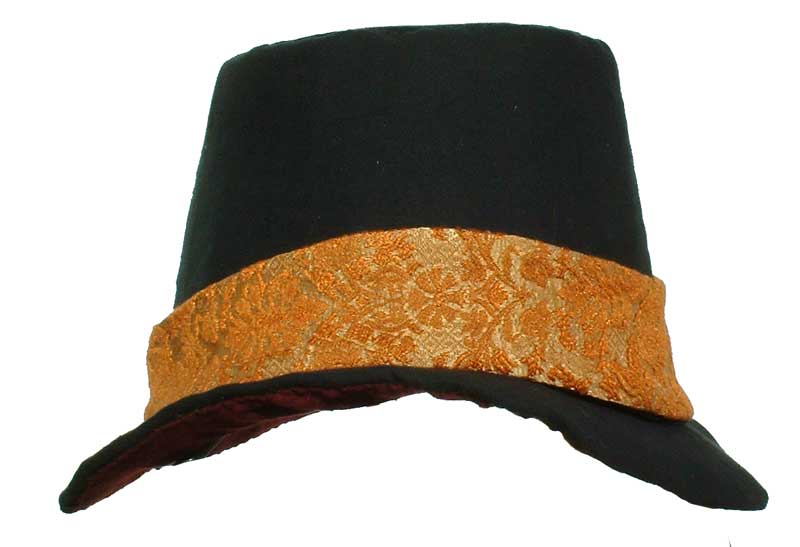
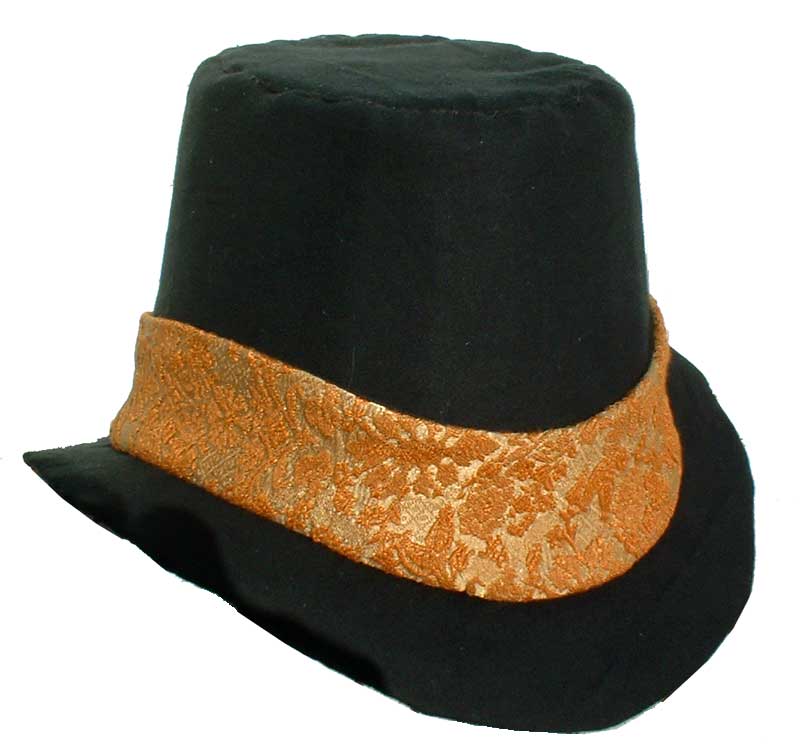
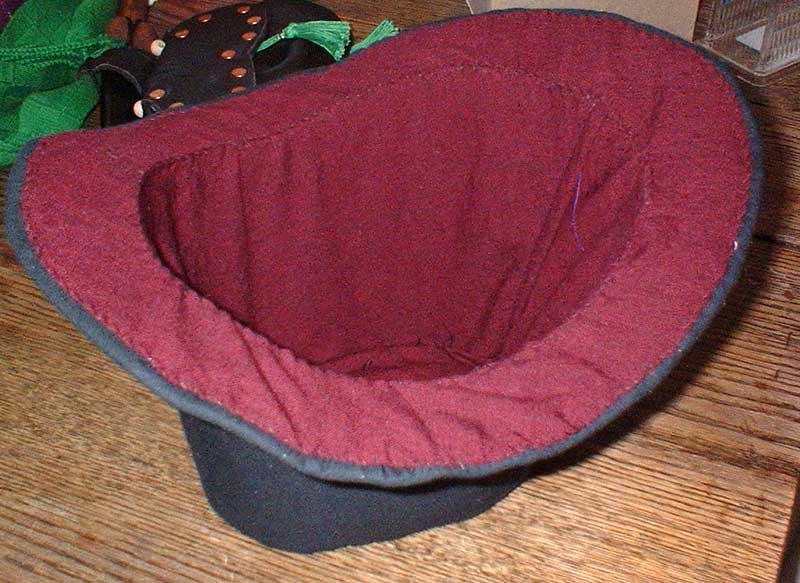
| Black Elizabethan Woman's Hat | |
|
The outer shell of the hat is a lightweight, soft black cotton. Each section (crown, top, brim) was made as a single piece, covered with the black cotton, then whipstitched together. I added a piece of light gauge copper wire (for lack of any better wire on hand) to the brim about 1/4" in from the edge on the underside. The lining is burgundy linen reclaimed from some long-forgotten half-finished project. I sewed the crown and top of the lining together, tacked it in along the seam inside the crown of the hat (by far the most tedious part of the whole project), and whipped it down around the underside of the brim. Then I added the lining of the brim separately, stitching it first along the inside edge, then along the outside. The band is a bit of gold brocade reclaimed from another ancient garment I made about 10 years ago. It is cut to match the curve where the crown meets the brim. |
|
| category: /accessories | permanent link | |
| Oct 30, 2005 |
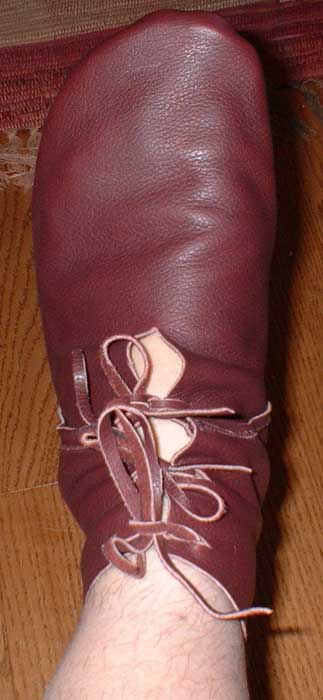
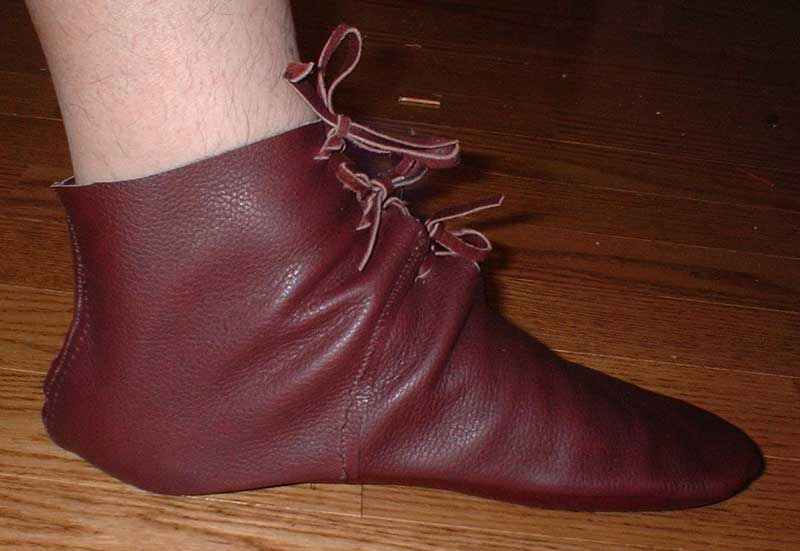
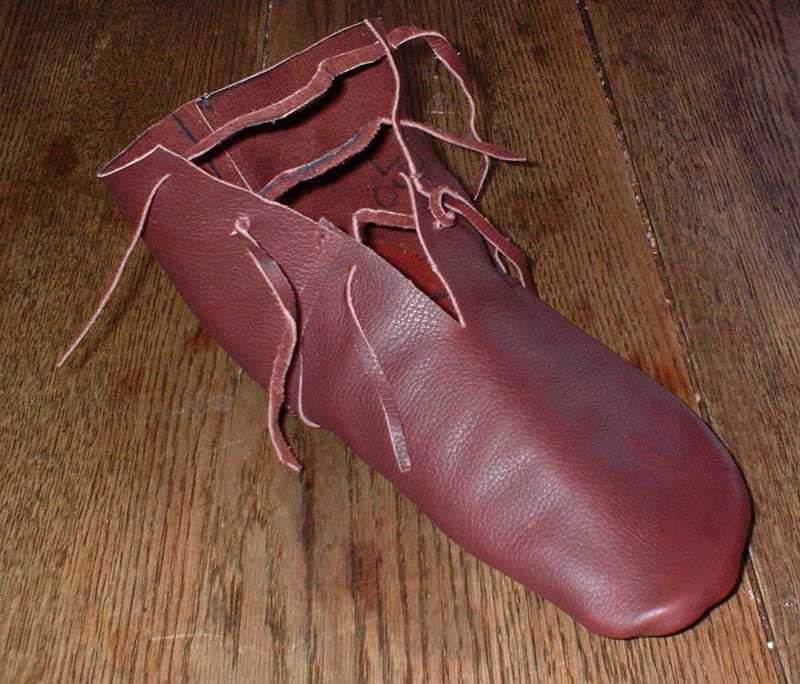
| Daddy Needs A New Pair Of Shoes | |
|
Following the success of my hose pattern, I got out the paper towels and duct tape to make a new pattern. I wanted to make an ankle boot this time, as I was always worried that the old shoes would fall off my heels. I added a rather generous seam allowance in all the appropriate places and cut out the leather. I used the same leather I had from the first pair of shoes, 8 oz. for the sole and 4 oz. for the uppers, both a nice burgundy color. The first time around I hand-stitched everything, which was the primary reason I hadn't tried making another pair for so long. After looking around for new shoes, I saw many that had lapped seams (rather than the fancy butted flesh-edge seams I would have preferred to have), so I figured that would be good enough for me. Since I wasn't supremely confident in my pattern, I did it all by machine so I wouldn't waste a lot of time on another disappointment. Much to my surprise, the shoes turned out just fine, and the rather ugly machine stitching doesn't look all that bad from normal viewing distance. I need to put insoles in them to keep my feet from complaining, and may glue on an extra sole to help them last a while longer.I also still have my old pattens that I can wear to keep them from getting torn up (I mostly worry about the heels, which is where my first pair died at). I didn't do any fancy closures, just a few pairs of slits with leather laces. I may whip out another pair later, and at least take the time to do the visible seams by hand, but for the most part I'm quite pleased with these. |
|
| category: /accessories | permanent link | |
| Oct 29, 2005 |
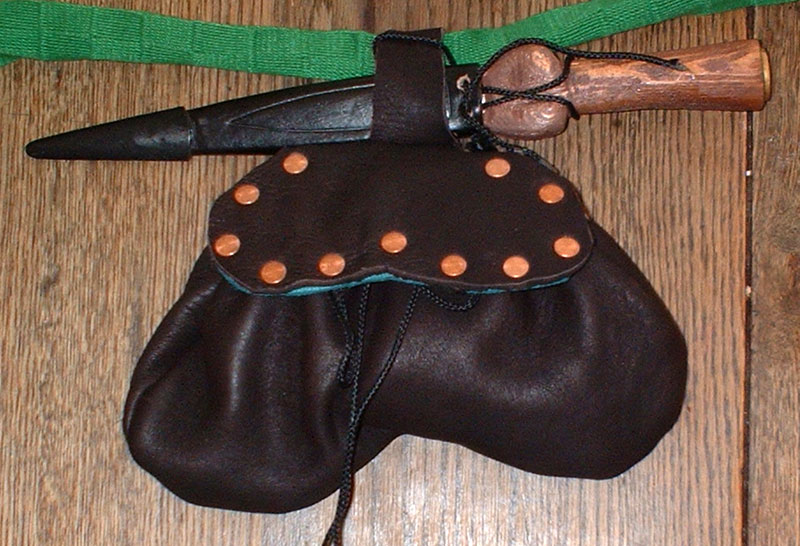
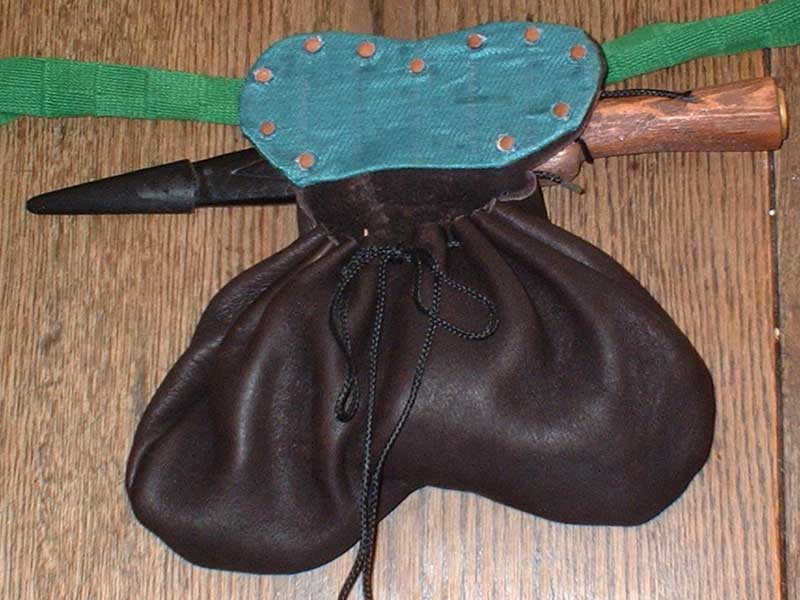
| A Pouch | |
|
I've had a pile of elk hide lying around for years that I was originally planning to turn into a new pair of shoes. Fortunately my laziness on the shoe front was a good thing in this case, as I've been informed that elk hide is far too stretchy to make good shoes. It does, however, make perfectly dandy pouches. It's quite thick, while still being very soft and supple. I wanted to make a purse with a rigid flap, though I wasn't able to pull together the materials to make any sort of proper frame. Instead I cut a piece of scrap aluminum to the shape I wanted and glued some slik to it to cover it up. I riveted it to the flap of the pouch with some leftover copper rivets from the coat of pates I made a while back. The result is not entriely unattractive, though it's still a little rough. The body of the pouch is closed with a drawstring, which I plan to replace with a better cord than the one seen here. The loop is sewn to the back of the pouch, and is just about the right size for my dagger to sit in comfortably. I plan to add some tassels to the bottom edge of the pouch, but otherwise this is pretty much the finished product. |
|
| category: /accessories | permanent link | |